
Friday, 31 December 2010
Happy New Year!!!
Here's some I took earlier---except for this first bit, which I nicked this from my friend Stacy, but found it so appropriate for a new year, so I thought I'd re-post it:


Saturday, 18 December 2010
Holiday treats inspired by AMY BAKES and others
So this weekend I've been inspired by the baking Goddess who is AMY BAKES [see my links to find her wonderful foodie blog & great recipes] & tried two of her recipes, the first her star Christmas tree cookies, first I made a big one, a bit sloppy but I am having major migraines from a sinusitis infection...and don't worry I did not sneeze on this food & kept washing my hands!


I had some cookie dough left so I made these little ones to put on the table for Xmas dinner for each of the guests alongside the Christmas crackers:

I'd also read about the peppermint bark AMY made, and it sounded good, so I used her recipe, the only thing I did differently was add a few drops of peppermint oil in the white chocolate layer so it was more minty [we really like mint in our house] and it came out perfectly---thank you so much AMY! I reckon this will be seen at our house in Christmases yet to come.

At Yuletide I like to use up what's in the cupboards, and being inspired by AMY I came up with this next confectionery delight---using what was in the cupboard only

So in my cupboard I found: 1 package of butterscotch chips that I brought home from the USA when I went home in October, some marshmallows left over from my 15th year living in the UK BBQ in July [and they were still in date], the new Christmas spice I just bought, a couple of meringues that I bought at a local bakery that I used for a desert last month but hadn't used they were so huge, and a half a package of white chocolate buttons left over from the peppermint bark.

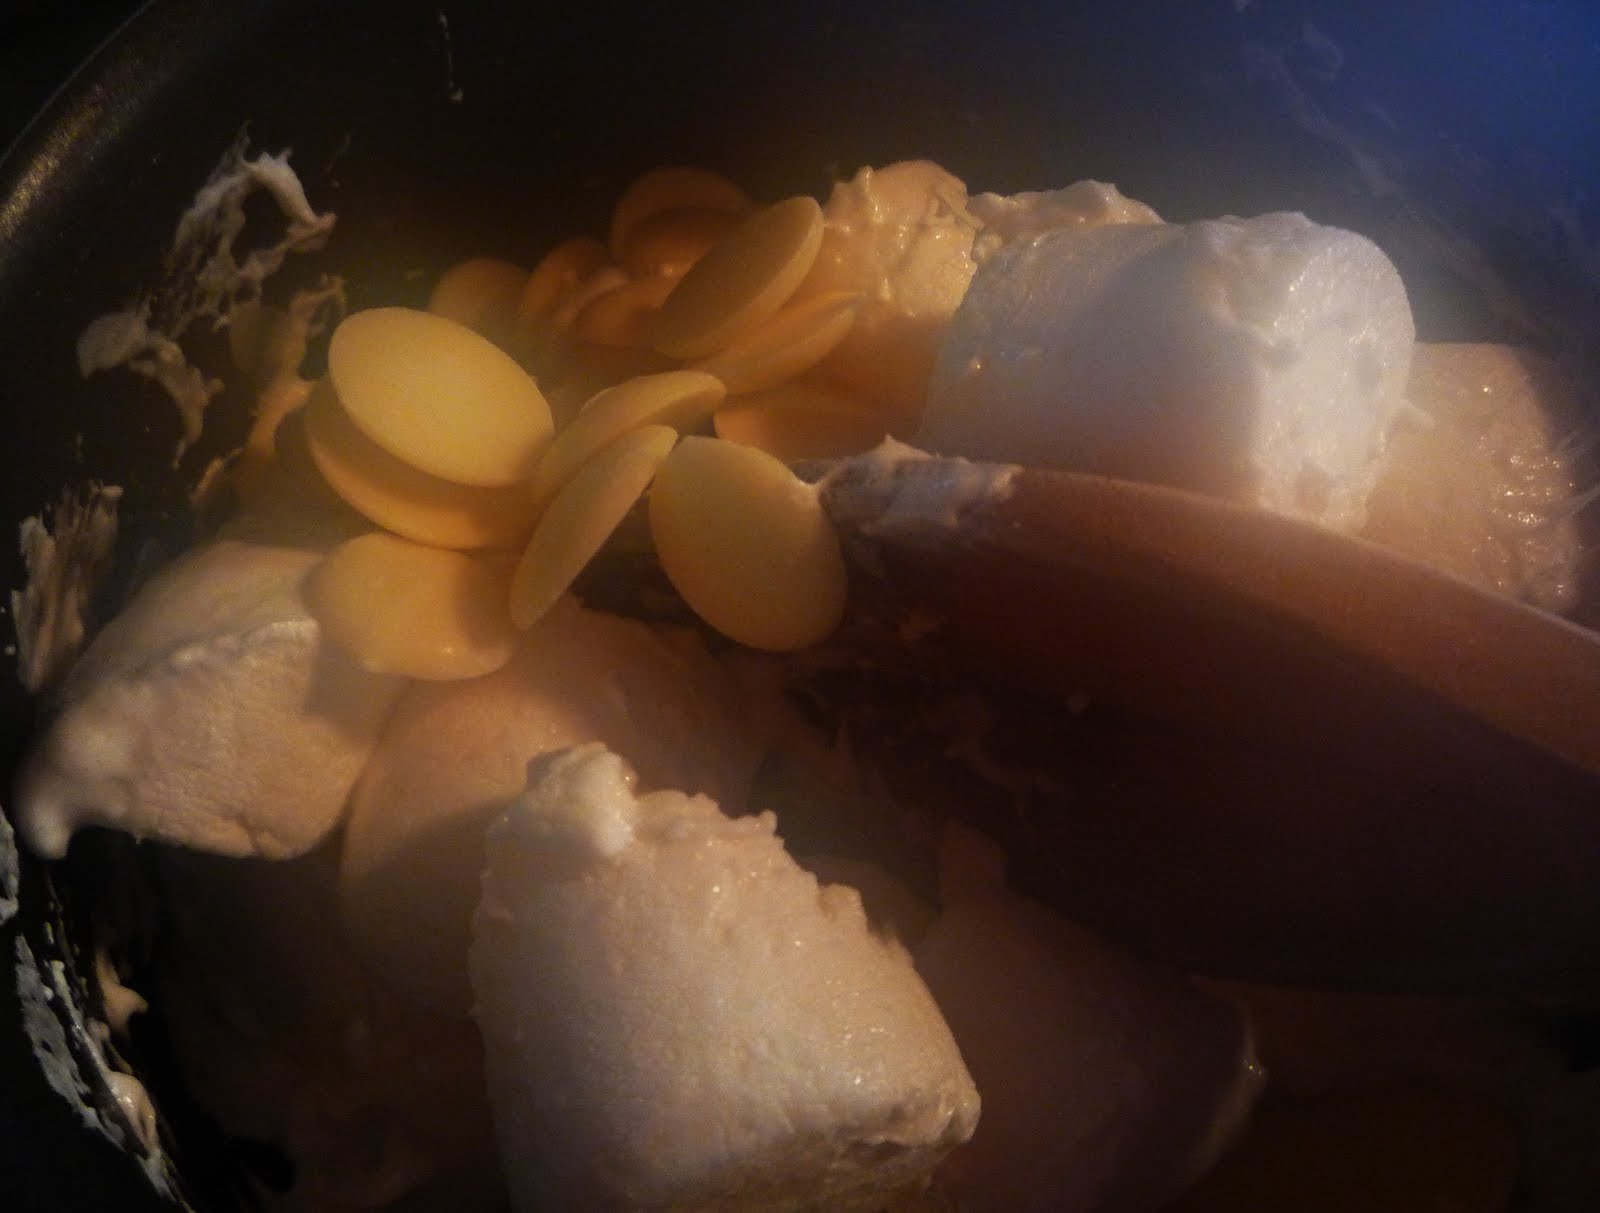
So I baked the chips on a cookie sheet with a lip for about 10 minutes until they were sweating & used a knife & mashed them down, they don't melt as nicely as the chocolate ones do. At the same time I melted a bit of butter in a double boiler [well actually 2 pans one on top of the other] and added the marshmallows & white chocolate buttons:

Then added the Christmas spice to this mixture:


While that's all melting & in between stirring, I crunched up the meringues:

So the marshmallow mixture went over the top of the butterscotch layer & ground up meringue bits over the top of that...I was doing some other things involving chocolate too so drizzled some of it over the top of the meringues. And in a half hour I had 2 pans of lovely Christmas sweets:

This next bit is dedicated to my sister EILEEN, who [even if she doesn't remember this] invented these and I have made them every year because I get so many requests for them. They are super simple to make but can be time-consuming, so make sure you have at least an hour to do them.
Peanut Butter Balls
You need:
6 ounces of softened butter
1 jar of smooth peanut butter
1 teaspoon vanilla
1 bag of icing sugar [powdered sugar]
5 big bars of chocolate
Cream together butter, peanut butter & vanilla with a mixer

Then start adding the icing sugar until it gets too much for the mixer to bear & start using a wooden spoon. You want to keep adding a bit of sugar at a time until the consistency makes it easy to form balls from the dough:


You will have to make a lot of these, so have a seat & put on some Christmas music while you work to get in the spirit of Yuletide. When you have them all done get that double boiler going and break up all the chocolate & get it all melty, then put the ball in the chocolate & cover it entirely & wither place it in a petit-four case or directly onto a sheet of unwaxed baking paper & the trick is to allow them to harden before someone comes along to snatch one.


Here are two more recipes I get asked for often and I just thought I'd put them on here for those who are interested in them:
Sage & onion stuffing: can be placed inside turkey or in a separate pan.
1. buy a loaf of the cheapest bread you can find---I think thick-sliced works best
2. lay it out on a rack the day before so it will dry out entirely. [if you forget you can put it right on the racks on the oven, on a very low heat for a half hour 100c, turn over the bread, then leave it another half hour]
3. Get a very large bowl & break up & crumb the bread into little pieces & crumbs
4. Cube two large onions.
4a. If you like chestnuts, which I do, prepare these and add in to the onions, they go quite well in this recipe
5. Get out a frying pan, melt about 4 ounces of butter, when it is melted put the onions in and allow them to soften.
6. Add 2 tablespoons sage, stir into the frying onions.
7. Boil a kettle.
8. Break up 2 chicken OXO cubes and crumble over the onions.
9. When the kettle's boiled, add 1 1/2 pints of water to the onions, add another Tablespoon of sage & cook for another 15 minutes.
10. Meanwhile in an oven-proof dish, ONLY IF YOU ARE NOT GOING TO STUFF THE TURKEY AND WANT THE STUFFING SEPARATE, line with aluminium foil making sure there is enough on all the ends to fold it over when the stuffing's inside it... AND then line again with greaseproof paper. I forgot this last time & loads of the stuffing stuck to the aluminium foil so it was wasted.
10. Pour the liquid a bit at a time over the crumbed bread, stir. Make sure that you get all the onions in first, then keep putting in the liquid a bit at a time as long as it makes all the bread moist, but not too wet...an inexact science but if it's too wet it doesn't cook properly, and too dry no one wants to eat it. You want it so that it clings to itself but isn't mushy.
11. When you are satisfied with the consistency put in the papered & foiled dish & really shove it all in together...alternatively shove it into the turkey cavity
12. If using the dish, place two pats of butter on the top & then cover with a square of baking paper & then pull the foil over the top of this so it is entirely covered tightly.
13. In a separate dish, it needs a good hour of cooking time. [This means you can prepare this at any time, even the day before so long as you keep it entirely covered].
14. After an hour, open up the foil & take off the top layer of baking paper & put it back in the oven 12-15 minutes until it gets nicely brown on top.
Cinnamon-maple Carrots & Parsnips:
1. Peel & cut your parsnips & carrots [you'l want these to be pretty thickly cut, too thin and they burn---If you want you can do this the day before & place them in a big pan or bowl of cold, salted water---parsnips turn brown as soon as you cut them nearly, so this will keep them nice and pretty]
2. At about an hour & 1/2 before you plan serving the meal, place a light coating of olive oil on the bottom of a large roasting dish & put it in the oven for about 20 minutes.
3. At the same time, drain and dry your veggies with some kitchen roll so they are ready to go as soon as you get the oil out of the oven.
4. Take the roasting dish out of the oven & put the vegetables in it, should spit a little as they touch the hot oil. Turn them over roughly so they get a coating of oil.
5. Sprinkle cinnamon lightly over the top of the vegetables.
6. Spoon or squirt maple syrup lightly over the top of the cinnamonised veggies. Real maple syrup is quite expensive but Tate & Lyle make a maple flavoured syrup that is very good too.
7. Place in the oven [on the middle or low shelves if you can, these can burn easily because of the syrup] for 25 minutes.
8. Take them out of the oven & flip over the vegetables.
9. Sprinkle cinnamon lightly over the top of the vegetables.
10. Spoon or squirt maple syrup lightly over the top of the cinnamonised veggies.
11. Put back in the oven for another 25 minutes or so, just keep checking on them.
Should all be done & ready for plating up about now, then.
________________________________________________________
And now for something completely different, and in case you think I've gone too far into the kitchen to ever get out again, here's the set I designed for the BL Christmas Pantomime, "Dick Wittington", unfortunately I was too ill to attend so I don't have any photos of the finished set---but here are photos in progress [pictured here is Tamsyn Chadwick who dis much of the set painting], the designs:


Thursday, 16 December 2010
Finishing the Xmas cakes
This past weekend I had to get the Xmas cakes ready for sending to our friends.
So I've include step by step instructions for finishing the cake in the traditional English way...but as usual I vary it because of the taste of my family...so you can too if you decide to make one. As you may remember from last time, the cakes were baked and placed in airtight containers and were being fed with brandy every other day---

First I make cake boards, you can buy them, but you can also cut up a cardboard box & cover it with aluminium foil, like so:

You will also remember I left them in a tiny bit too long so they were a little too black on top, so I cut the top off, who's the wiser? Only me, obviously you will skip this part as you will actually cook your's to perfection and not be off decorating a Christmas tree while they are baking.

What's a great bonus about this is that you can have a little taste of the cake, so you may want to burn them just a bit every year & viola, pre-Christmas treat, great with butter spread over and a little nip of brandy...
After the treat, turn the cake over so that the lovely flat bottom is on the top, makes it nice and level for decorating.


Next we put on a layer of marzipan...which is made from ground almonds [I cheated this year & got the pre-made stuff] I really don't know if you can get this in the USA.

So here's a couple of recipes [not mine but I use one like it]:
| Marzipan recipe 1: Uncooked home made marzipan | ||||||||||||||||||||||||||||||||||||||||||||||||||||||||||||||||||||||||||||
| (this marzipan recipe is good for preparing modelling marzipan) | ||||||||||||||||||||||||||||||||||||||||||||||||||||||||||||||||||||||||||||
| 500g (16 oz) sifted icing sugar (confectioner's sugar) | ||||||||||||||||||||||||||||||||||||||||||||||||||||||||||||||||||||||||||||
| 450g ( 1lb) ground almonds | ||||||||||||||||||||||||||||||||||||||||||||||||||||||||||||||||||||||||||||
| 2 egg whites | ||||||||||||||||||||||||||||||||||||||||||||||||||||||||||||||||||||||||||||
| 1/2 tsp vanilla flavoring | ||||||||||||||||||||||||||||||||||||||||||||||||||||||||||||||||||||||||||||
| 1 tsp lemon juice | ||||||||||||||||||||||||||||||||||||||||||||||||||||||||||||||||||||||||||||
 | ||||||||||||||||||||||||||||||||||||||||||||||||||||||||||||||||||||||||||||
| Sift the icing sugar in a bowl with the ground almonds. Add the remaining ingredients and mix to make a stiff paste. Knead until smooth. (As a substitute to raw eggs it is possible to use a little water mixed with brandy to bind the paste). | ||||||||||||||||||||||||||||||||||||||||||||||||||||||||||||||||||||||||||||
| Marzipan recipe 2: Cooked home made marzipan | ||||||||||||||||||||||||||||||||||||||||||||||||||||||||||||||||||||||||||||
| (this marzipan recipe is good for preparing modelling marzipan but it will turn out slightly stickier than the uncooked marzipan) | ||||||||||||||||||||||||||||||||||||||||||||||||||||||||||||||||||||||||||||
| 225g (8oz) granulated sugar | ||||||||||||||||||||||||||||||||||||||||||||||||||||||||||||||||||||||||||||
| 180g (6oz) ground almonds | ||||||||||||||||||||||||||||||||||||||||||||||||||||||||||||||||||||||||||||
| 40g (11/2 oz) icing sugar (confectioners sugar) | ||||||||||||||||||||||||||||||||||||||||||||||||||||||||||||||||||||||||||||
| pinch of cream of tartar | ||||||||||||||||||||||||||||||||||||||||||||||||||||||||||||||||||||||||||||
| 1 egg white, lightly whisked | ||||||||||||||||||||||||||||||||||||||||||||||||||||||||||||||||||||||||||||
| 5 tbsp water | ||||||||||||||||||||||||||||||||||||||||||||||||||||||||||||||||||||||||||||
| 1\2 tsp vanilla extract | ||||||||||||||||||||||||||||||||||||||||||||||||||||||||||||||||||||||||||||
| Put the sugar and the water in a heavy based saucepan and cook on a low heat until the sugar has dissolved. Add cream of tarter and bring to the boil until the sugar reaches 116oC (240oF)- soft ball stage. Remove from the heat and mix the mixture until it turns cloudy, then add ground almonds and vanilla extract. Add to the pan the egg white and return to a low heat and stir for a couple of minutes. | ||||||||||||||||||||||||||||||||||||||||||||||||||||||||||||||||||||||||||||
| Place the icing sugar on to a marble surface and pour over the mixture. Work in the icing sugar with a palate knife. Cover the mixture with plastic wrap until cooled. Once cooled knead the mixture until smooth. | ||||||||||||||||||||||||||||||||||||||||||||||||||||||||||||||||||||||||||||
Righto, now you roll out the marzipan to 1/4 inch thickness & lay it over the cake, this is usually much easier with a round cake, but they all taste the same so it doesn't really matter which kind of pan you like to bake in. In England it is typical to get blocks of marzipan and you need to roll it out yourself.


The marzipan needs to be sealed so if you are making a cake with corners, cut off the excess and pinch it all together

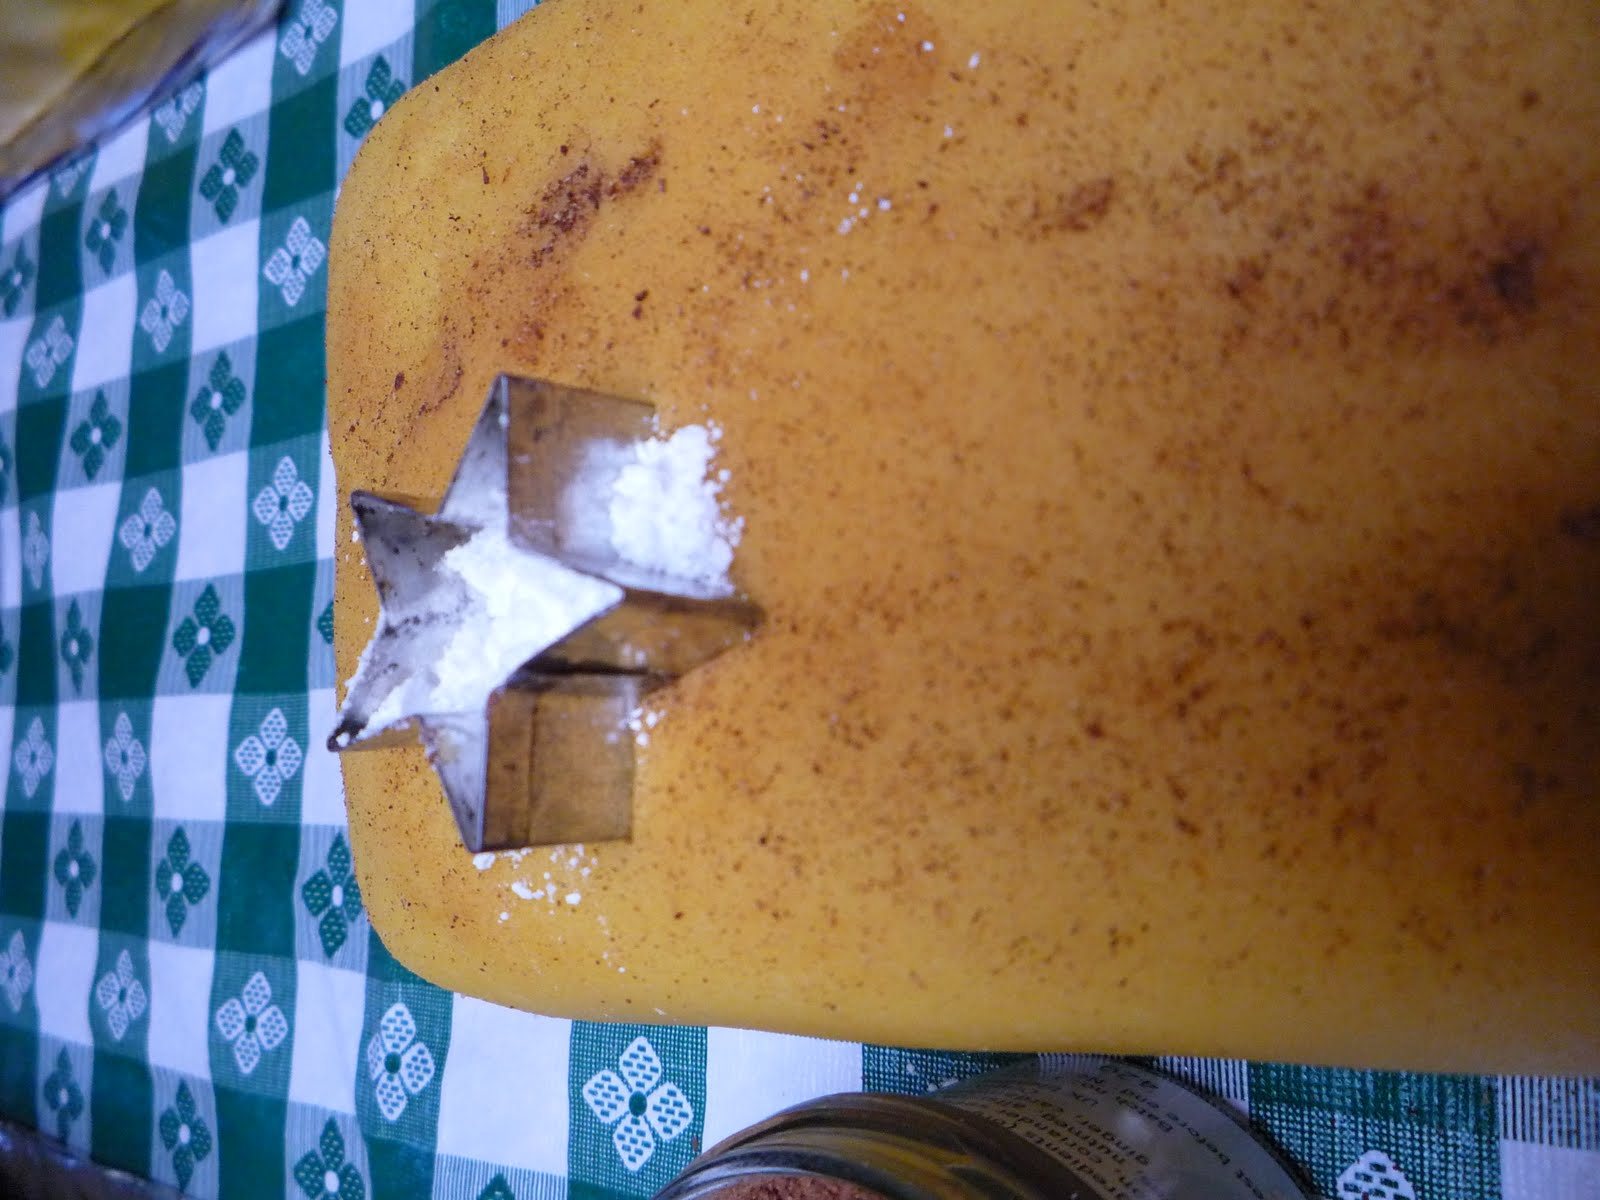
I have to use all my pans because I make so many cakes. Also some of the people I make them for don't like the royal icing, so I finish them with marzipan only. First I sprinkle with mixed spice and rub it into the marzipan.

Then I take a cookie cutter [biscuit cutter-UK] and lightly make impressions with it over the top of the marzipan:
Cover lightly again & rub in with clean fingertips, this time with icing sugar [powdered sugar] so it comes up as a snow covered design, super simple.


I wrap them up with cellophane & curly ribbons, then my hubby packs them in boxes and sends them off.

If you want to go the whole hog, then you will want to ice & decorate your cake, again I cheated and bought icing at the store, it's ready to roll, so that's just what I did:

This cake is for my very good friend who I know will appreciate the extra effort, so decorated it with a holly wreath & "Merry Christmas" motto...and that's all, she wrote.

Subscribe to:
Posts (Atom)